 Add Row
  Add
Add 


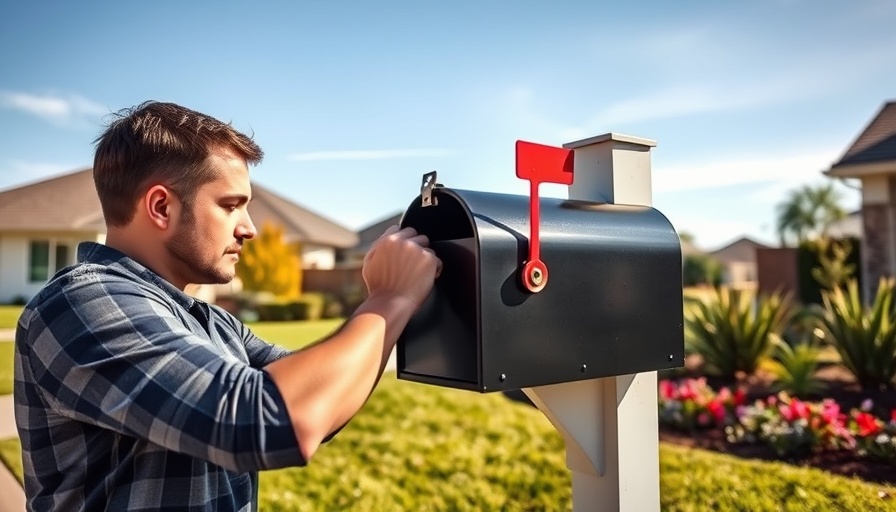
Installing a Mailbox: A Simple DIY Project
Have you ever thought about how a mailbox can enhance your home's curb appeal? Installing a mailbox is not only functional but also an excellent way to express your style and creativity. With just a few tools and some guidance, you can embark on this rewarding DIY project.
Essential Tools You’ll Need
Before you get started, make sure you have the right tools at hand. You'll typically need a shovel, a level, a drill, and some concrete mix. Gather these items, and you’re already halfway there!
A Step-by-Step Guide to Installation
Let’s break down the process:
- Choose Your Location: Make sure your mailbox is easily accessible to postal services while respecting local regulations.
- Prepare Your Post: Depending on your mailbox design, you'll need either a wooden post or a pre-fabricated one. Dig a hole for your post, making sure it’s deep enough to provide stability.
- Secure the Post: Place your post in the hole and fill it with concrete. Use a level to ensure it's straight.
- Attach the Mailbox: Once the post is firm, attach the mailbox securely using the provided screws.
- Finishing Touches: A little landscaping around your mailbox can make it pop. Consider adding flowers or decorative stones to enhance its charm.
By following these straightforward steps, you will not only enjoy a new mailbox but the pride that comes from completing a DIY project on your own!
Why This Matters to Homeowners
In the realm of home improvement, we often overlook the small details that can make a significant impact. A mailbox can complement your home’s theme while serving its primary purpose. Plus, taking on small DIY projects can boost your confidence and inspire further renovations around your home.
Conclusion: Embrace Your DIY Spirit
So, are you ready to elevate your home’s curb appeal? Installing a mailbox is just the start of your home improvement journey. Dive into this project and unleash your creativity!


 Add Row
  Add
Add 

Write A Comment