 Add Row
  Add
Add 


DIY Guide: Building a Shower Curb Made Simple
Wet bathrooms can be a hassle, often leading to slippery floors and unwanted mildew. Building a shower curb not only keeps your bathroom dry but also enhances its aesthetic appeal. Surprisingly, it’s a DIY project that anyone can tackle, even beginners!
Essential Tools for Your Project
Before starting your shower curb installation, gather the necessary tools and materials. Prepare to have non-corrosive screws, a waterproof pan liner, gloves, liner glue, cement mortar, lath, Portland cement, a flat trowel, and a knife at your disposal. These will ensure a seamless and effective build. If you’re unsure about what to choose, don’t hesitate to consult with professionals at your local hardware store; they can guide you on the best materials based on your flooring type.
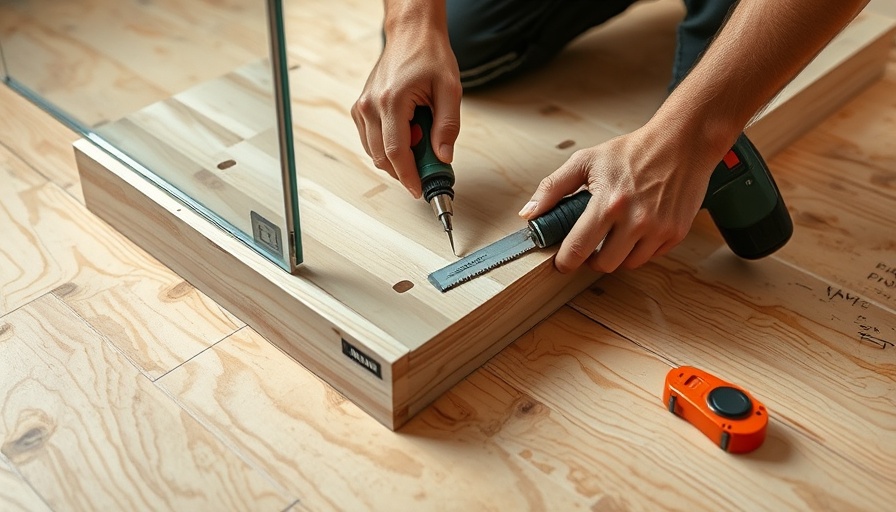
Step-by-Step Installation Process
Follow these simple steps to successfully create your shower curb:
- Choose Your Material: Depending on your bathroom flooring, select appropriate materials. For wooden floors, wood bricks work well, while laminate flooring calls for laminate bricks.
- Install a Waterproof Pan Liner: This crucial step protects your floor from water damage. Spread the liner smoothly across the entire bathroom floor, covering more than just the curb area. Making sure the liner overlaps all corners will provide added protection.
- Set the Shower Curb Bricks: Place the bricks in even rows, making sure the height allows for easy door functionality. Adjust cuts as necessary to fit around the drain.
- Finishing Touches: After positioning the bricks, apply a metal lath and pour cement mortar for added stiffness. Finish it off with a final smoothing of the surfaces.
Following these steps carefully will result in a sturdy and attractive shower curb. If this seems overwhelming, consider starting with smaller projects around your home, which will help build your skills and confidence!
Why This Project Matters
A good shower curb prevents water from flooding your bathroom and avoids costly repairs in the future. It’s not just about functionality but also about enhancing the overall look of your space. A DIY shower curb can be a fulfilling project that adds value to your home and gives you a sense of accomplishment.
Next Steps for Home Improvement
Now that you are equipped with the knowledge to build a shower curb, consider exploring other DIY home improvement projects. Whether it’s adding a fresh coat of paint or upgrading fixtures, each small step contributes to the beauty and functionality of your home. Happy renovating!


 Add Row
  Add
Add 

Write A Comment