Add Row
Add Element
cropper
update
Ignitor Marketing
update
Add Element
  • Home
  • Categories
    • Home Improvement
    • Home Automation
    • New Trends In Home Renovations
    • New Technology for Homes
    • Smart Homes
    • Home Owner News
March 04.2025
2 Minutes Read

Avoid the Mistake: How to Mop a Floor in the Right Way

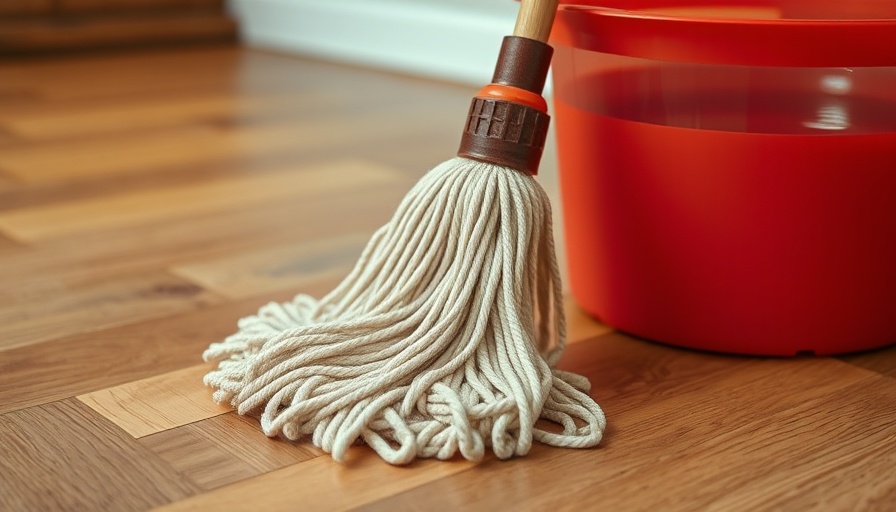
Mop with red bucket on hardwood floor.

Mastering the Art of Mopping: A Comprehensive Guide

Are you tired of ending up with floors that seem dirtier after mopping than before? This common predicament stems from improper mopping techniques and cleaning habits. Fear not! This guide will illuminate the right way to mop your floor effectively, ensuring it sparkles without any grime left behind.

Why Sweeping Comes First

Before engaging your mop, it's crucial to sweep or vacuum the floor. This vital step is often overlooked, but removing dirt and debris first sets the stage for effective cleaning. Without this preliminary action, any mopping can lead to simply spreading dirt around, leaving your floor looking less than pristine.

The Secret of a Clean Mop

Another tip for achieving a spotless floor is by using a clean mop. A dirty mop will only transfer old dirt back to the floor, negating your hard work. Regularly washing your mop head with a suitable cleaning solution ensures it remains effective in picking up dirt and grime.

Step-by-Step Mopping Guide

To achieve that gleaming floor, follow these steps meticulously:

  1. Clear the Room: Remove furniture and obstacles.
  2. Sweep or Vacuum: Eliminate loose dirt and debris.
  3. Prepare Two Buckets: Fill one with cleaner and the other with clean water.
  4. Wring the Mop: Avoid soaking the floor by making sure the mop is damp, not dripping wet.
  5. Start in a Corner: Always move backward while cleaning to stay on the unmopped area.
  6. Rinse Frequently: Rinse the mop in the clean water bucket, wringing it out before moving onto the next section.
  7. Final Rinse Off: After finishing, mop the entire surface again with clean water to remove any remaining cleaning solution.
  8. Let it Dry: Prevent tracking dirt by keeping foot traffic off until fully dried.

Best Practices for Different Flooring Types

Using the right cleaning solutions based on your floor type is also key. For instance, hardwood floors require a pH-neutral cleaner to avoid damage, while vinyl floors can benefit from a vinegar and water solution, ensuring effectiveness without leftover residues. Each flooring type has unique needs, and using the wrong cleaner can lead to sticky or damaged surfaces.

Enhancing Your Cleaning Routine

Regular cleaning does not just maintain aesthetics but contributes to a healthier home environment. Frequent mopping helps reduce allergens and eliminates bacterial growth, making it essential particularly in high-traffic areas where germs often accumulate.

Conclusion: Your Clean Floor Awaits!

With consistent effort and the right techniques, maintaining clean floors can easily become part of your routine. As you embrace these mopping strategies, not only will your floors shine, but you'll also improve the overall air quality and hygiene of your home. Don’t wait — try out these techniques next time you mop!

Home Improvement

Write A Comment

*
*
Related Posts All Posts
08.30.2025

Why This Summer is the Perfect Time for DIY Home Improvement Projects

Update Transform Your Home This Summer with DIY Projects Summer is here, and for many homeowners, it's the season to roll up their sleeves and engage in exciting DIY home improvement projects. Whether it's a fresh coat of paint or a complete renovation, the possibilities are endless. However, as much as this season brings creativity, it also brings challenges. What could go wrong, and how can you prepare for it? Understand the Risks of DIY Home Improvement When diving into DIY projects, it’s crucial to acknowledge potential pitfalls. Lack of experience can lead to mishaps that cost time and money. A common misstep is underestimating project durations; what appears straightforward often takes longer than expected. Additionally, safety should be a priority. Improper handling of tools can pose serious risks, and not adhering to safety protocols could result in injuries. Smart Solutions for Your DIY Dilemmas Embracing new home technology can significantly enhance your DIY experience. Smart home devices can help streamline processes—from smart measuring tools that ensure precision to apps that help visualize your project's final look. The right technology not only makes tasks easier but also elevates your home's functionality as part of the larger trend toward smart homes. Key Considerations for Successful Home Projects To ensure your summer of DIY home improvement is a success, consider these tips: Planning is Essential: Take your time to plan every detail. Know what materials you need, and establish a realistic timeline. Budget Wisely: Unexpected costs are part of any home project. Set a budget that allows for surprises while remaining economical. Seek Expertise: Don’t hesitate to consult with professionals, especially for complex tasks like DIY plumbing or electrical work, where the stakes are higher. Conclusion: Enjoy the Journey of DIY While the realm of DIY home improvement can come with uncertainties, it also brims with the potential for creativity and satisfaction. Happy crafting! Dive into your projects with enthusiasm, and remember that the journey of improvement is just as rewarding as the outcome!

08.29.2025

DIY Home Improvement Projects This Summer: Tips to Avoid Common Mistakes

Update The Rise of DIY Home Improvement: A Creative Boom As summer heats up, homeowners are finding themselves drawn into the exciting world of DIY home improvement projects. From repainting rooms to landscaping gardens, endless possibilities ignite creativity. But with the thrill of home transformation comes challenges and potential missteps. This article investigates what could go wrong and provides insights for a successful DIY journey. Common DIY Pitfalls to Avoid DIY projects are often seen as cost-effective solutions, yet mistakes are common. Issues like choosing the wrong paint, miscalculating material needs, or overwhelming complexity can turn a simple task into a stressful endeavor. According to industry experts, careful planning and realistic assessment of skill levels is crucial. Remember, safety should always come first; this includes wearing protective gear, using tools safely, and understanding structural limits. Innovative Tools and Resources Embracing new technology can significantly enhance your DIY experience. Smart home tools, like laser levels and digital measuring tapes, streamline the planning and execution of projects. For those looking to incorporate technology, consider app-based design tools to visualize changes or use video tutorials to guide you through complex tasks, ensuring you're well-equipped to tackle challenges. Why DIY Matters The DIY movement not only fosters creativity but also provides an opportunity for homeowners to connect with their living spaces in a personal way. Engaging in home improvement can lead to feelings of achievement and satisfaction as individuals see the results of their hard work. Furthermore, according to home improvement articles, actively participating in the beautification of one's own space can foster a sense of community when homeowners exchange tips and inspiration. Final Thoughts: Embrace the Summer DIY Spirit Summer presents the perfect chance to dive into DIY projects, but it’s essential to prepare adequately. Equip yourself with the right information, plan ahead, and approach tasks with a positive mindset. As you embark on your journey, remember that even mistakes can lead to learning opportunities. So welcome the challenges and celebrate every success along the way!

08.29.2025

Keep Your Home Safe: Prevent Frozen Pipes This Winter with Our Checklist

Update Avoiding Winter Woes: How to Prevent Frozen Pipes As winter approaches, protecting your home from the damaging effects of frozen pipes should be a top priority. The last thing you want is to come home from a chilly outing only to discover a burst pipe flooding your living space. With some simple and proactive measures, you can avoid considerable hassle and repair costs. Why Do Pipes Freeze? Pipes tend to freeze due to exposure to subfreezing temperatures, especially in areas of the home that are unheated or poorly insulated—think attics, basements, and exterior walls. Unlike other areas of your home where water flows freely, these pipes may remain stagnant, making them more susceptible to freezing. Understanding these principles can help you take action to protect your plumbing system. Essential Steps to Protect Your Pipes Before Winter Experts on plumbing have shared several tips to prepare your pipes for the cold season: Insulation is Key: Wrap exposed pipes with foam sleeves to provide a barrier against frigid temperatures. If you’re in a pinch, old towels and duct tape can offer a quick fix. Drain Unused Pipes: If certain pipes in your home won’t be used over the winter, such as those connected to outdoor hoses, shut off the water supply to them and drain any remaining water. Circulate Warm Air: Prevent freezing by allowing warm air to circulate around pipes. Open cabinet doors under the sinks to let heat from your home reach the plumbing, particularly during severe cold snaps. Investigate Further: Why This Matters Taking these steps ensures that you don’t suffer the inconvenience of burst pipes while potentially saving you from costly water damage repairs. With just a bit of planning and forethought, your home can stay cozy and safe throughout the winter months. In the world of home improvement, understanding seasonal changes and preparing your infrastructure can make a significant difference in your quality of life and the integrity of your property. So bundle up and get started on this preventative checklist—your future self will thank you!

Terms of Service

Privacy Policy

Core Modal Title

Sorry, no results found

You Might Find These Articles Interesting

T
Please Check Your Email
We Will Be Following Up Shortly
*
*
*